| Books Database repair Development Example databases Forum Tips Technical Support Training Video tutorials |
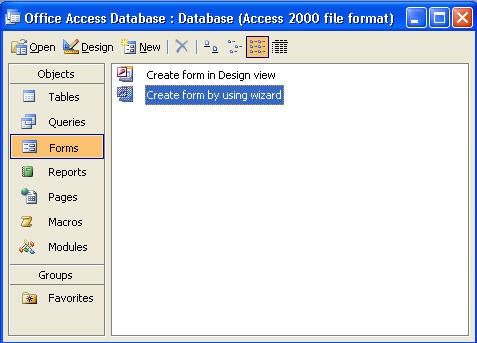
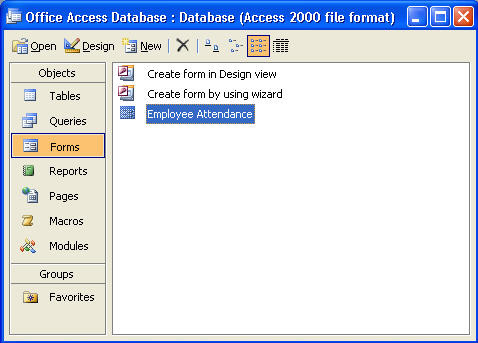
Creating Microsoft Access FormsLet us now go to learning about how to make forms, or data entry forms. Remember that in this tutorial’s portion of making tables, we entered data directly onto the finished table. You might think of it as wearisome or quite confusing, what with all the lines, rows, columns, and the multiple directions that you go through to enter data in a table. Making forms or data entry forms, makes entering data a much easier and faster task. Just like in making tables and queries, you can also make forms using several different ways, such as Design View, Form Wizard, auto form, Chart Table, and Pivot Table. In this tutorial, we will learn how to make forms using the Form Wizard. Choose Forms in the left portion of the database view, as highlighted in orange in the image below. Select ‘Create form by using wizard.’ Click New.
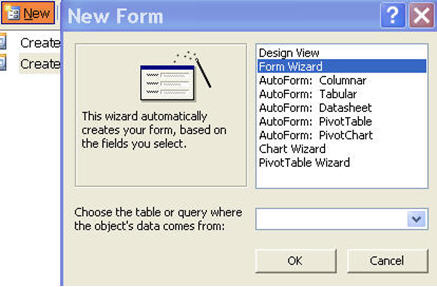
Note that there is a list of several ways to make a form. Choose Form Wizard as highlighted in blue in the image below.
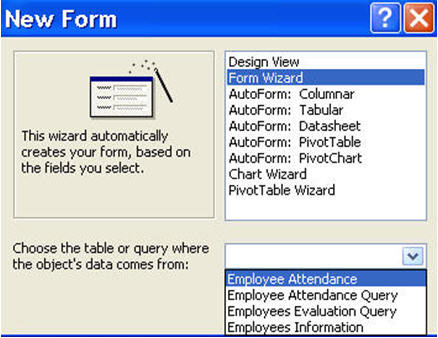
Select the table or query that you want to make a data entry form for in the drop down menu.
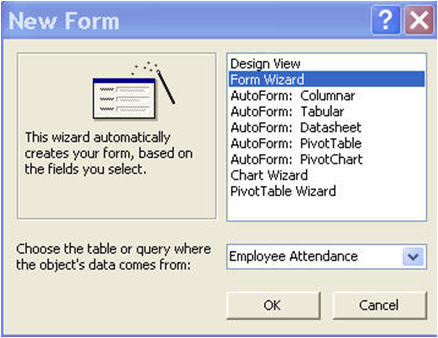
We choose Employee Attendance table. After you have chosen, click OK.
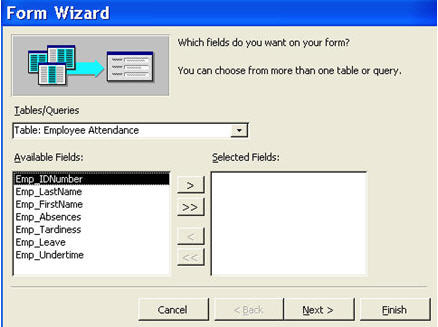
The Form Wizard box will appear. Since we have chosen the Employee Attendance table, it is selected in the drop down menu for the list of tables and queries.
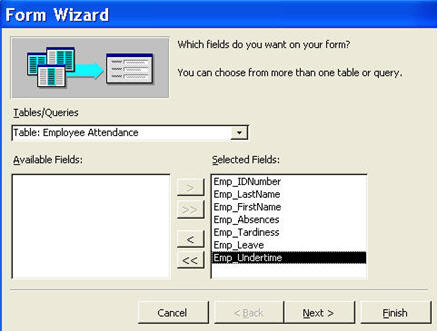
We choose the fields that we want to appear in our form. Since
the data entry form is to fill up the fields with information concerning
employee attendance, we choose all available fields. It is faster
to click on the
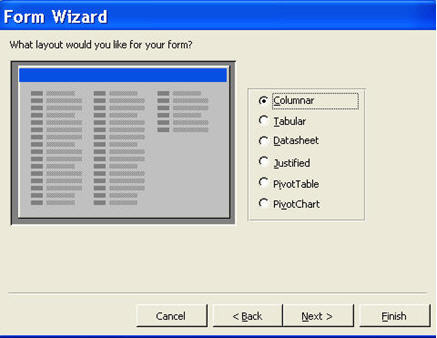
It is time to choose which layout we want for our data entry form. Try out as many layouts as you want. For this tutorial, we choose the Columnar layout. Click Next.
As you can see in the image below, there are several styles to choose from. While selecting, a preview of the selected style is displayed in the left box. For the style of our data entry form, we choose Ricepaper. Click Next.
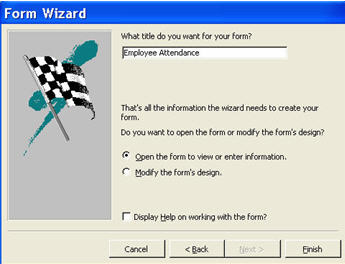
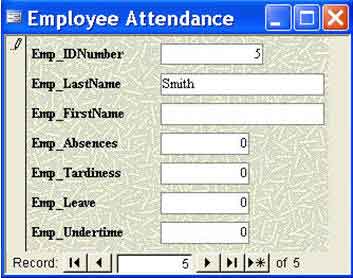
Now, it’s time to name our form and save it in our database. We name it Employee Attendance. Click Finish
This is how our form looks like. We can now enter data using this form, and the data will automatically be stored in the Employee Attendance table.
When we close the form, the Employee Attendance form can be viewed in the database.
|

Forum Archive | About us | Privacy Policy
© Access World 2010