| Books Database repair Development Example databases Forum Tips Technical Support Training Video tutorials |
Creating a single Table QueryWhat is a query for, anyway? When you have a database with lots of data in it, it is tedious to search through all of your data when you have to open each file one by one. Queries erase that tediousness and make searching and displaying your desired data easier and much faster, because it can search through many tables and give you the information that you need. Examples of queries for our database might include:
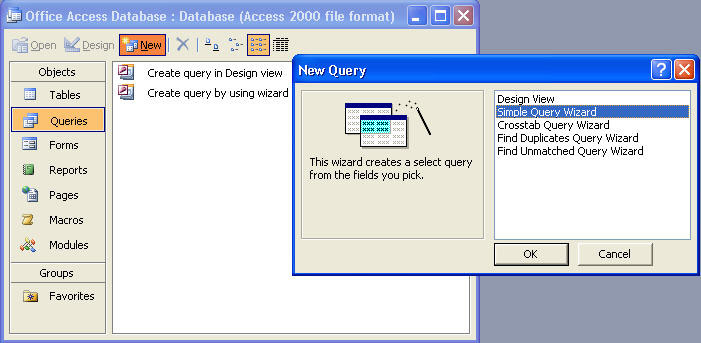
Queries can also be created using Design View, but for now, we will use the wizard to create queries for a single table and for multiple tables. The wizard only displays existing fields from your table in the query output. It also performs other functions such as ordering the records, calculating some statistics in a column or counting how many records there are, filtering data by displaying those that match a certain condition. To make a new query, click on Queries at the left part of the database window. Choose New and then "Simple Query Wizard".
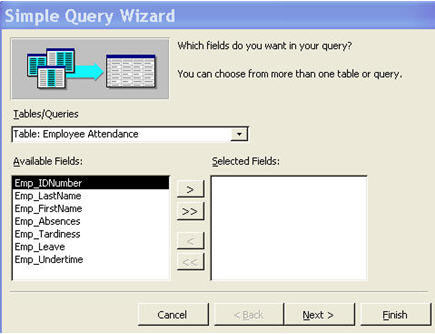
The Simple Query Wizard box will appear. Note that there is a drop down menu for the tables and queries in your database. For this tutorial, we will make a query for employees’ absences.
Below the drop down menu, there are two boxes. The left box is
for Available Fields, which lists all of the Field Names available
in the selected table or query in the drop down menu. The right
box is for Selected Fields. This displays the fields or headings
that we choose from the selected table. We move fields from the
Available Fields box to the Selected Fields box by clicking on
the
For your own queries, if you want to select all of the available
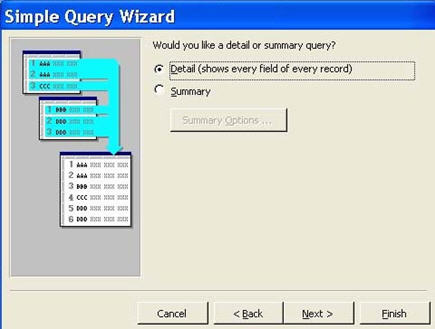
fields, just click on the Afterwards, this box will appear. It lets you customize how you want your query to be viewed. For this tutorial, we will choose our query to be in displayed in detail. As for the option Summary, you may have your query display summary calculations. Click Next.
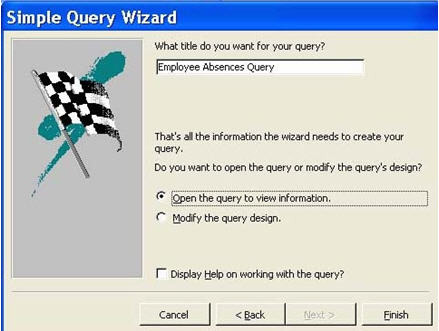
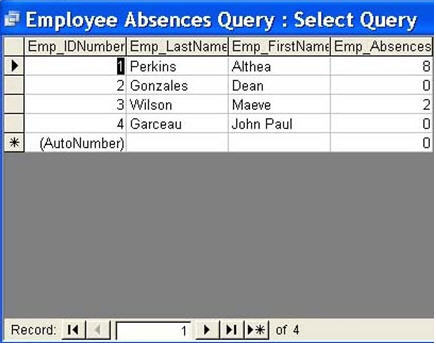
For this box, we input a title for the query. We will name this query Employee Absences Query. If you need to check the data or modify the query design, just click on the respective radio buttons. When done, click Finish.
This is how our finished query looks like. Take note that the headings or field names displayed in the query are the field names in the Selected Fields box in the wizard.
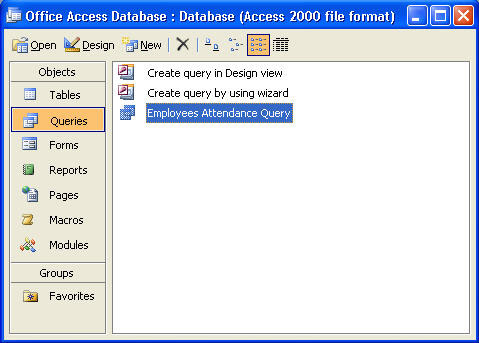
When you close your query, it will be available to you in your database view, as shown in the image below.
We are finished with making a single table query.
|

Forum Archive | About us | Privacy Policy
© Access World 2010