| Books Database repair Development Example databases Forum Tips Technical Support Training Video tutorials |
Creating Microsoft Access ReportsSuppose your boss needs information that comes from different
tables. You can make a query, right? What if your boss asks for
that information on paper? You will need to modify the fonts, colors,
backgrounds, and other such features, to make your printed output
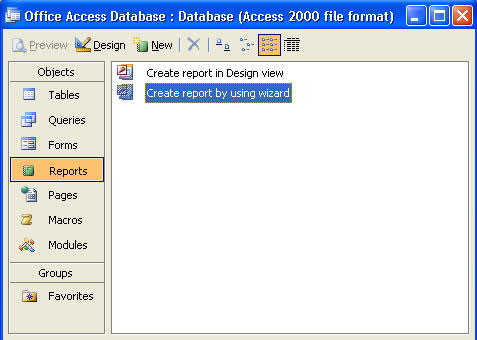
presentable. Choose Reports at the left portion of the database view as highlighted in orange in the image below. Click New.
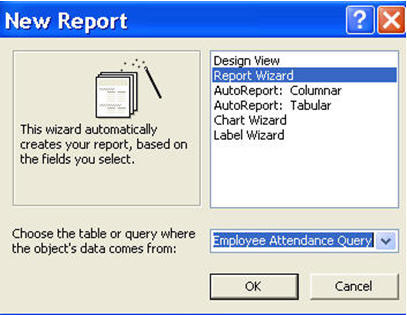
This window will appear. Select Report Wizard, as highlighted in blue. In the drop down menu, select the table or query that you want to make a report about. We select Employee Attendance Query. Click OK.
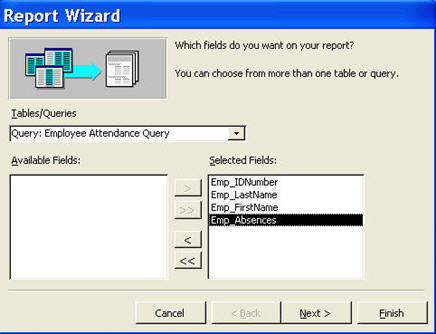
A list of available fields from your chosen table or query will
be displayed. Click on the
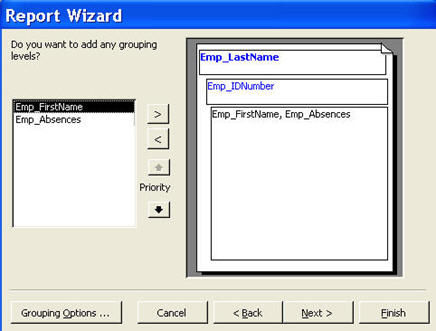
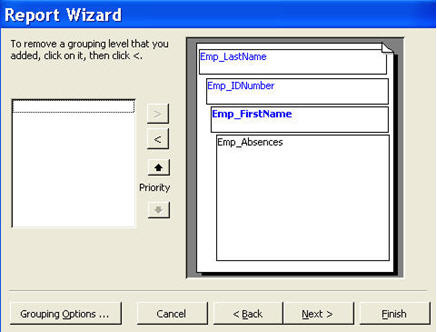
On the next window, notice that there is a preview of your report. It is up to you where you want the selected field names to be placed. In the image, the topmost field name is Emp_LastName, followed by Emp_IDNumber. ** need new image. too many groupings. just have one level. **
Note that the remaining field names from the previous image are
now grouped in the preview, and that there are no more field names
in the left box. If you need to arrange the field names again,
just click on the **need new image**
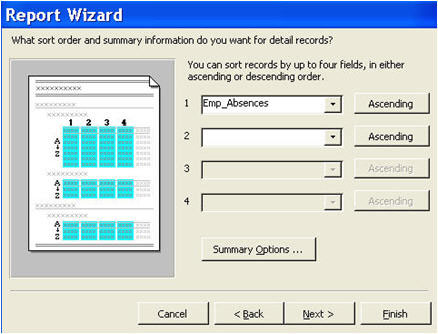
After the grouping of field names, we will choose how the records will be displayed. For this tutorial, we will have the data from Emp_Absences be sorted in Ascending order. The Summary Options works in the same way as in making tables and queries. Click Next.
Now, let us modify the layout of our report. In the middle box, there are several layout types. When you click on each of them, you will be provided with a preview in the left box. For this tutorial, we choose Align Left 2. Click Next. **choose stepped, not aligh left 2** **need new image for stepped**
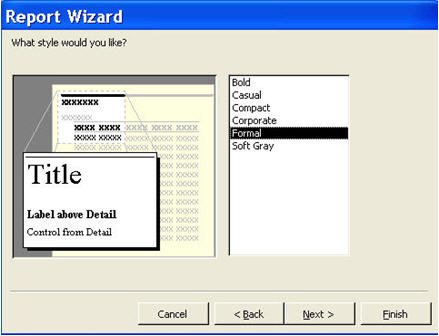
We are presented with style options for our report. Just like in the layout options, we are provided with a preview of our report when we click on each option in the right box. For this tutorial, we choose Formal style. Click Next.
We are almost done! We name our report Employee Attendance Query. If some changes are needed to be done, just click on the radio button with ‘Modify the report’s design’ If there are no more changes to be made, choose ‘Preview the report’ and click Finish. **change report name to Employee Attendance Report**
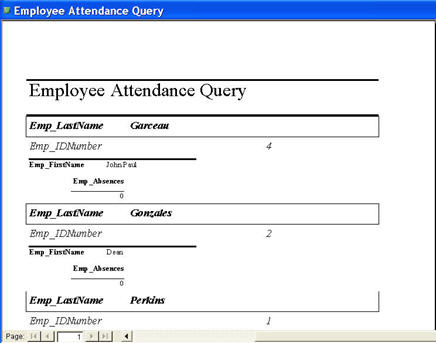
And here is a print preview of our finished report. *redo this. also, enter more data in so that each employee has more data**
|


Forum Archive | About us | Privacy Policy
© Access World 2010